Getting Organised
Seven steps to saving your photo memories
Getting Organised
Step One:
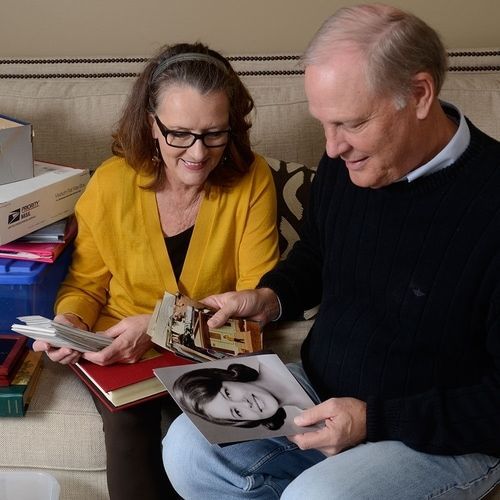
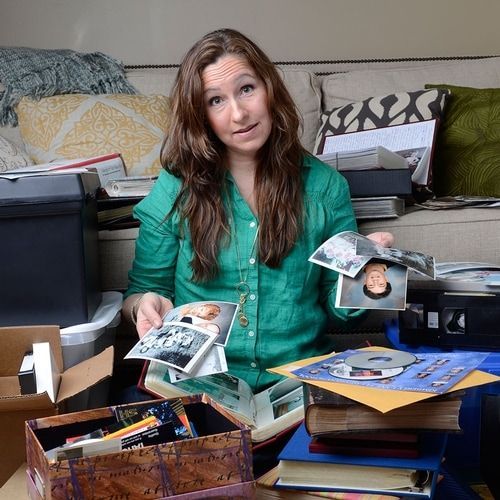
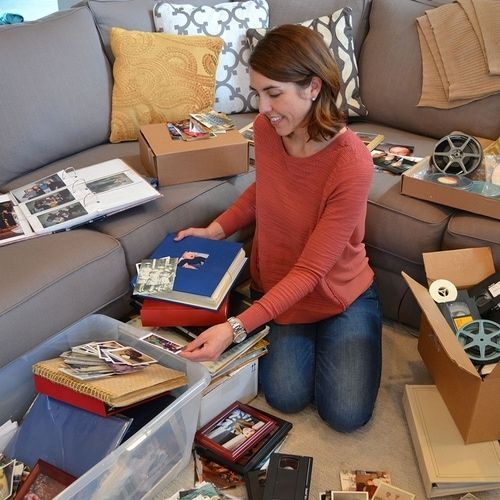
Gather all your photographic memories in one spot. Find a place in the house where you can stack, sort and review without having to constantly move the memories from that location. (the dining room table may sound great, until you are having to clear the space ready for meal time). Set up a working space so you are comfortable and can walk away and come back without having to put the stacks away. Working at a table is more practical to sitting on the floor or spare bed. If you are working in a bedroom, have a fold out table that you can sit at to do the sorting, use the bed surface for storage. (digital images, migrate all files to one device on a fast computer)
Step Two:
Gather supplies to make the sorting process run smoothly. Every time you decide to label or make a new pile needs to be seamless (not another trip to the stationery drawer to find a pen or locate another piece of paper).
Suggestions for supplies for physical photographs & albums:
- Pens (that don’t smudge)
- Pair of white cotton gloves
- Trays or boxes for sorting (shoe boxes can work here)
- Sticky notes/index cards can be invaluable for labelling
- Rubber bands or acid free bags to bundle photos
For digital photographs & albums:
- Lap top
- USBs and or portable hard drive
- Software that you can work with comfortably
- File names and ID for cloud storage
Step Three:
Make a decision each time you sit down to sort, how long you will spend on this task today. Working in 20 – 30 minute slots can be best. Long time slots can be draining, and affect your motivation to get the job done. If you decide to give the task a morning or evening, ensure you take a 5 minute break every 30 minutes.
Step Four:
Decide how you want to classify your photos. You can sort by year or decade, or you may want to group them into themes, topics or events. Cathi Nelson (AOPPO) says “we take photos chronologically, but we live thematically”.
For Example:
- Childhood & school years
- Starting your career and early travel
- Wedding & honeymoon
- Family
- Special events – other weddings, birthdays, awards, graduations, etc.
- Holidays
- Milestones that have meaning
- Family History
Are you going to keep the bundles of negatives, if so, these need to be classified the same as your photos. You can have these negatives scanned with a proof sheet for sorting and classifying or you choose to discard them because you have the photos.
Step Five:
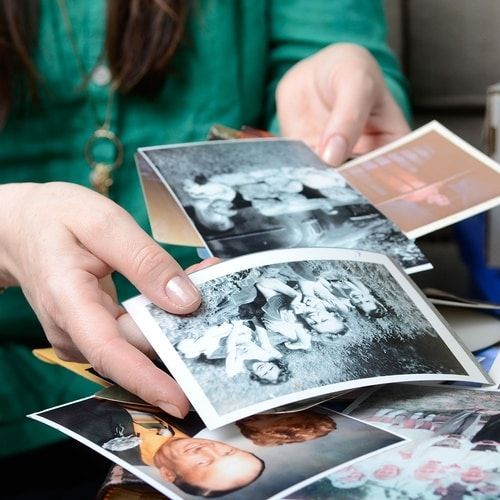
Start sorting using the ABC method.
A – your best photos the ones on display of in albums
B – these are good images, to keep or perhaps share with others
C – poor images or duplicates you can give away or discard
At times we have received photos from family members or friends, and those images don’t have any relevance or meaning to you. You may wish to discard or share these with others, but eliminate from your collection.
Photo albums and slides can also be labelled using the same classifications as your photos. Album pages can be scanned if you do not want to remove all the photos from the album. For Super8 movies and videos classify these in the same manner as your photographs.
Step Six:
Keep focused. Keep your decisions simple. When decluttering, the decision is to keep or let go.
Photos you keep should answer YES to the following:
- Does the image have meaning to you?
- If the photo is of people, are their eyes open?
- Can you identify at least one person in the photo?
- If the photo does not include people, is it exceptional in some way
- Is everything that is important in the photo clear and sharp?